Showing posts with label Craft Tutorial. Show all posts

Thursday, November 15, 2012

DIY Cabochon Jewelry


As much as I love sewing, sometimes I get the urge to do something a little different. I've been planning some of my DIY Christmas gifts this year and I thought it would be really fun to make some pretty jewelry for friends and family.

Flower cabochons have always had sort of a vintage feel to me and I find them to be really beautiful. You can buy them from many different sources online (here are a ton sold on Etsy) and they are really reasonably priced. Basically they are just molded resin and are really lightweight and easy to work with when crafting. You can attach them to just about anything, but this year I decided to make rings, earrings and hair pins.

If you get these going in assembly line style, you will have plenty of jewelry in no time!

DIY Cabochon Jewelry
by Lindsay Wilkes from The Cottage Mama

Supplies:
Flower cabochons (found here)
Blank bobby pins, rings or earrings
E6000 or other industrial strength glue

Instructions:

Gather up all of your supplies for this project.


Like I said above, you can purchase some really gorgeous cabochons via Etsy.com. I ordered all different shapes and sizes so I would have a wide variety of different styles and colors.


As far as the blanks go for bobby pins, rings or earrings, I purchased the earrings and bobby pins online and found the rings at our local Joann super-store. You will have more of a selection if you order online, but you should be able to find all of these at your local craft store. Our lovely blog sponsor, Crafter's Vision carries some different blanks as well.

I bought adjustable rings because I'm not sure of everyone's ring size. Just make sure the blank portion of the ring is smaller than your cabochon (or at least the same size). The square rings (that came in this variety pack) didn't really work for this project since the blank was too big.
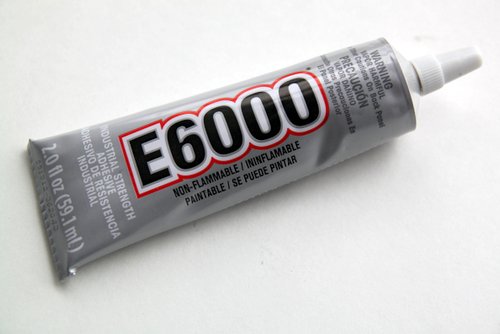

E6000 is a great glue to have in your stash of craft supplies. It's super strong and dries clear. You can find this at your local craft supply store. If for some reason you can't find this, then just look for another industrial strength glue. Jewelry gets a lot of wear and tear, so you don't want it falling apart.


So this project is really simple. Take a dab of glue and place it onto the blank jewelry, then press your cabochon on top. Leave them upside down to dry for at least 24 hours.


For the smaller pieces, like the earrings, I just put a dab of glue on some paper and dipped the top of the blank part of the earrings and pressed them to the cabochons.


These make great gifts for girlfriends, teenage girls and teachers.

Package these pretties up and you are good to go! 

Monday, November 5, 2012

Mason Jar Soap Dispenser ~ Tutorial


I have a thing for mason jars. Big, small, new, old........but the ones that really grab my heart are the blue jars. I have quite the collection these days. Some of them I got from my Grandma Peggy and some of them I have picked up here and there from garage sales, flea markets and thrift stores. The blue glass is just so pretty and soothing......I absolutely love them!

I have been wanting to turn several of the old blue jars into soap dispensers for about the last two years. I've seen some mason jar soap dispensers for sale and always thought they would go so perfectly with our cottage-style home. A couple months ago I finally mentioned my interest in this project to my husband thinking I could have him help me by drilling the hole in the top of the lids. But sometimes, I just get so impatient that I decided to take things into my own hands. A girl's got to do what a girl's got to do, you know?

So, with that being said, there is probably a more correct way to do this project if you really know how to use a drill and a metal drill bit, but if you would prefer to just use basic tools, this tutorial is for you! Plus it will only take you 10 - 20 minutes.

Mason Jar Soap Dispenser
by Lindsay Wilkes from The Cottage Mama

Supplies:
1 blue mason jar and metal lid
1 soap dispenser top
Phillips head screw driver
Needle nose pliers
Safety glasses (optional)
Scissors
Sharpie or other marker

Instructions:


Mark a hole with a sharpie in the center of the metal lid where you would like to put your soap dispenser.


The inside of the old metal lids have a ceramic lining inside. You need to remove this in order to make the hole for the soap dispenser. To remove the ceramic insert, just pound on it really hard with your screwdriver until it cracks. Once it cracks, the pieces come out really easily.

During this step I would recommend wearing safety glasses because the little ceramic pieces can fly up in the air and get into your eyes. But again, that is totally optional. Rinse out the inside of the lid once you have removed the ceramic pieces.


Now this next step is a little wild. You are going to take your screw driver and pound down on the little black mark that you made in the first step. I pounded about 4-6 times and then pushed down with all my might. You could also be a little less crazy and just take a hammer and hammer down on top of the screw driver to drive it through the center of the lid.


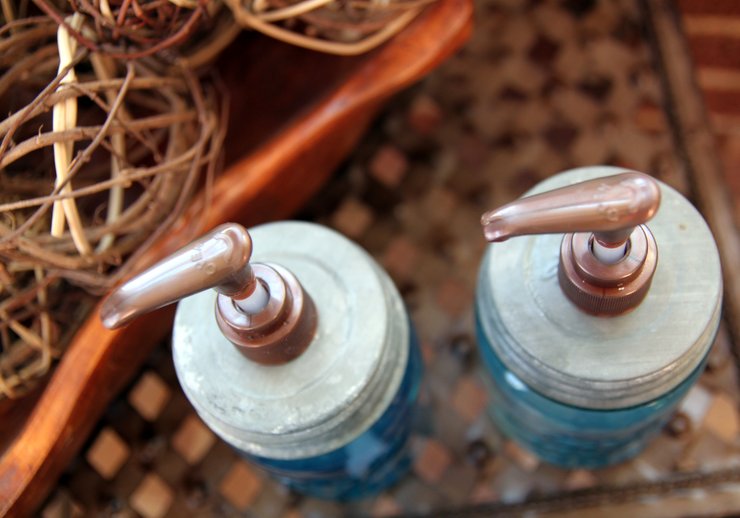
In the picture above, you can see how nicely the screwdriver will go through the top of the lid.


As you can see, the hole that was made from the screwdriver is not big enough to accomodate my soap dispenser, so I needed to make it larger. This soap dispenser top was from another store-bought hand soap bottle that we already had in the house. You could buy a fancier one or buy a plastic one at your local craft store.

If you are using a top from a bottle you already have, just make sure to pump out the soap and wash it out really well with warm water.


To make the hole in the metal lid larger, take your pliers and peel back the metal. This step is surprisingly easy. Just pull back the metal and check and see if your soap dispenser will fit. You want the fit to be very tight so that the top does not move around, so make sure you don't pull back too much metal before testing the fit.

This step could also be done with a drill and a metal drill bit, but again, you want the fit to be very tight so make sure you don't use a bit that is larger than the soap dispenser.


Fit your soap dispenser into the metal lid. Again, I can't say it enough, but you really want to have to work the soap dispenser into the lid so it's really tight. Since we pounded so much on the lid, you may just need to pop the top of the lid back out a little bit.


Now you need to cut the plastic tube from the soap dispenser to fit your jar. Use the scissors and cut it to size. It should be close to the bottom of the jar, but not touching.


Fill the jar with your favorite hand soap, put the lid on top and enjoy!


These mason jar soap dispensers would make lovely gifts for the holidays or as a housewarming gift. I made these two in about 20 minutes, so it is a very quick and easy project. Plus it's kind of fun to get out the tools!

Cottage Mama's Note: You could probably do this project with a regular store-bought mason jar, but you would need to make sure you attached the center lid insert to the outer ring really well. Also, I'm not sure how easy that metal is to poke through with your screw driver (the old metal was pretty easy), but if that's what you have, then give it a try!


Thursday, August 16, 2012

DIY Ribbon Holder Tutorial


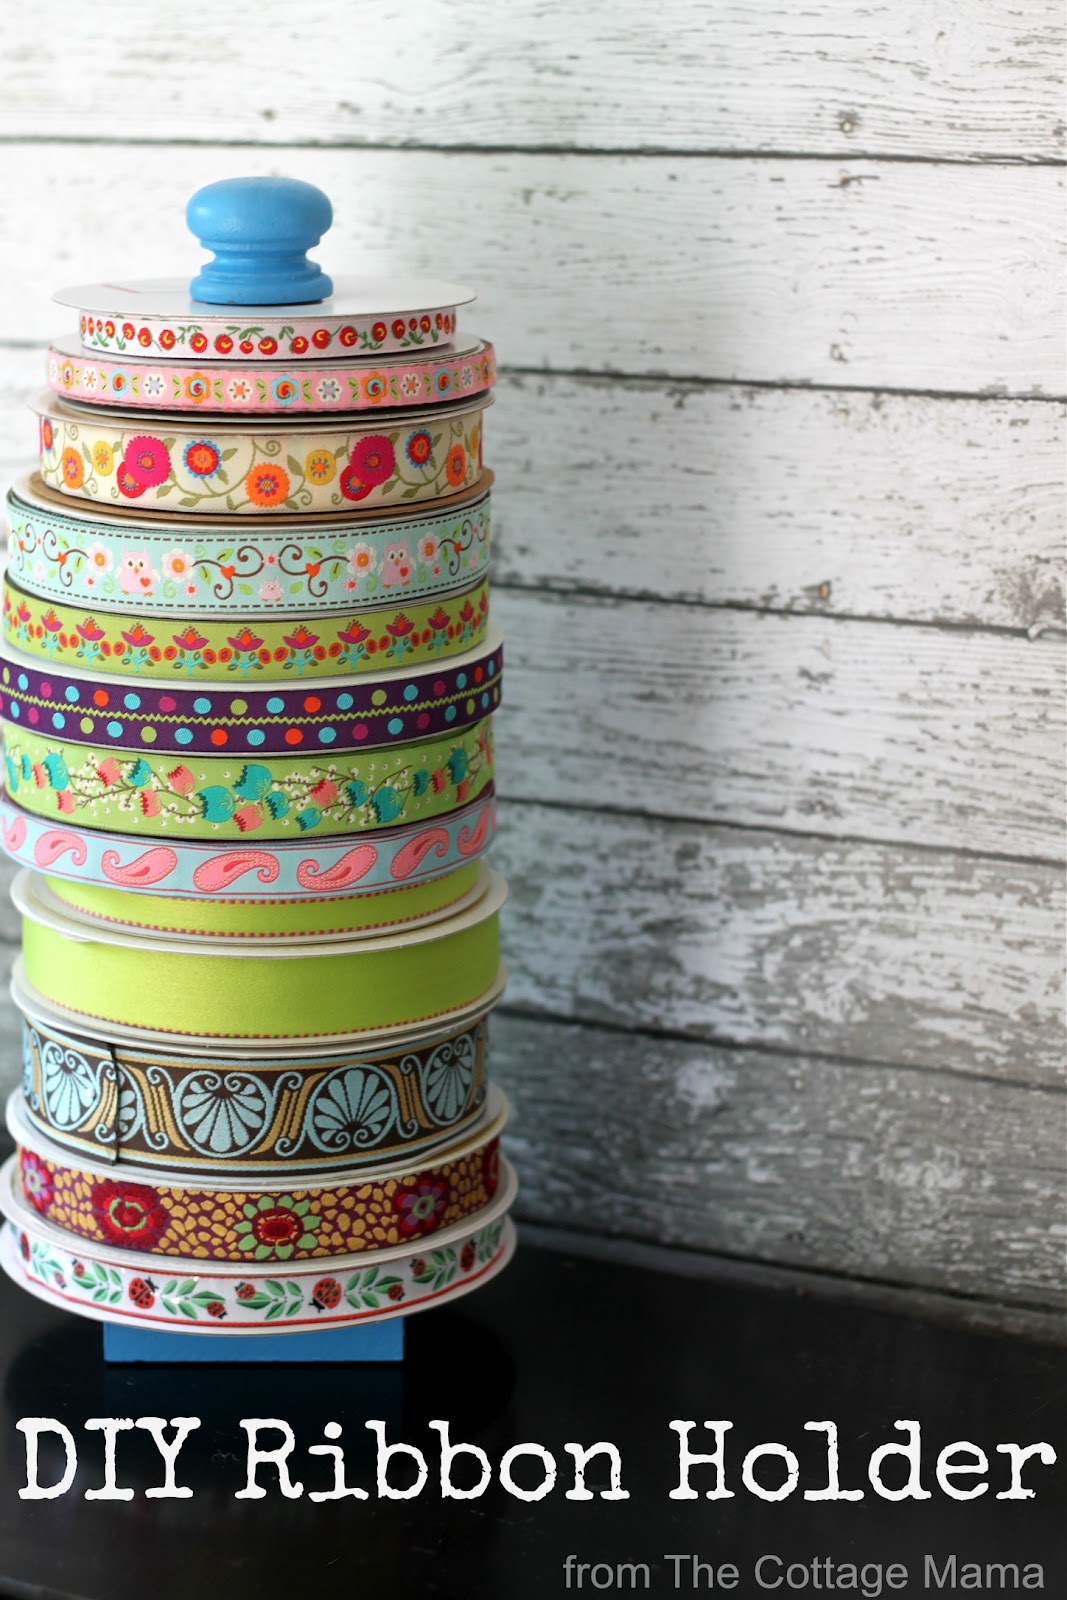
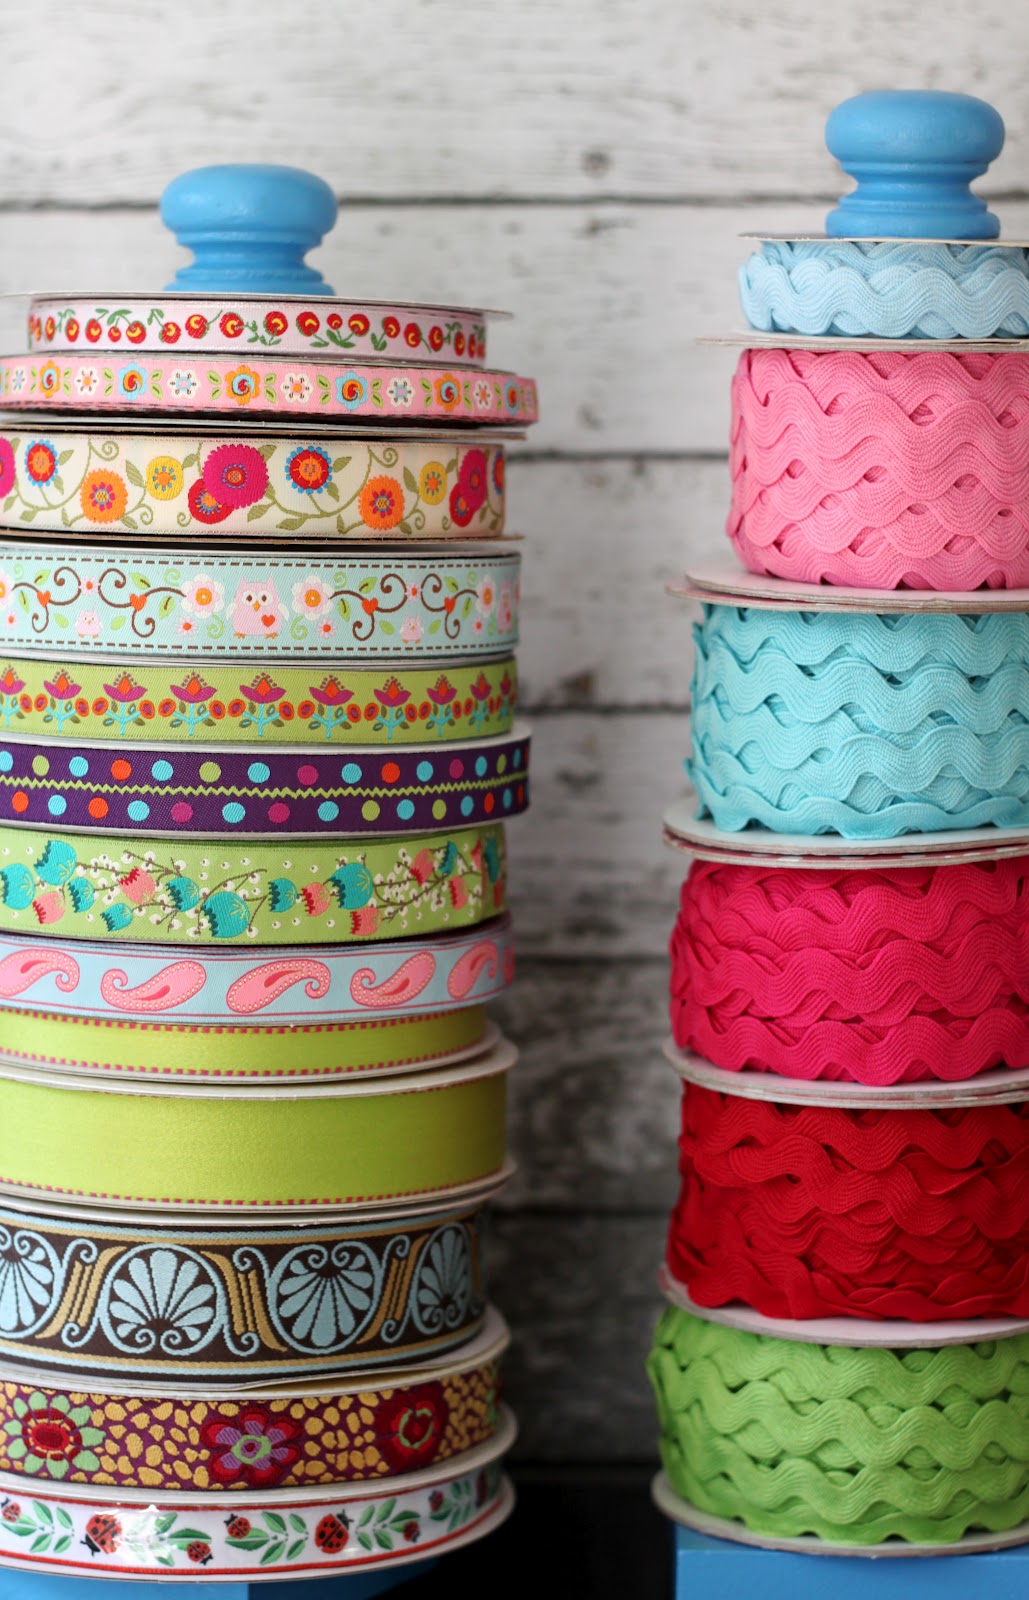
I have a lot of trims and I mean a lot! As a designer I like to see everything I have to work with when I am creating new garments and projects.  I usually start out with fabric selection, but it's the trims and ribbons that really bring a garment together.  I wanted to create some easy, inexpensive ribbon holders so that I can have all my trims displayed out in my studio when I'm working.  Also, I love looking at all these pretties, they make me so excited to get creative!


You can create these holders for your sewing trim or even use them for your gift wrapping ribbons.  All of these supplies (aside from the craft paint) were found at our local hardware store.  They only cost a few dollars each, so you can make as many as your heart desires!  My hubby helped me by drilling the holes, so you may need to enlist the help of a drilling aficionado.

Want to make your own?  Ok, let's get started.......


Supplies:
1 piece square corner trim
1 dowel rod cut 13" long
1 wooden knob
Craft paint
Paint Brush
Drill
Wood glue (optional)

Directions:


Drill a hole in the center of your square trim that is the same size as your dowel rod.  If you can make it the slightest bit smaller then you can avoid having to glue it in place.  But if it seems loose at all add some wood glue and allow it to dry.  What size dowel rod should you use?  Well, that's kind of up to you depending on what trims you are trying to store.


I found these wooden knobs and had my husband drill a hole in the bottom of them.  Make sure you don't go through the entire knob, just about 3/4 of the way through.


Make sure your knob fits well on top and that your dowel rod is secured in place.


Grab your craft paint and paint each of the holders.  I'm really into this Martha Stewart Craft Paint lately, so I choice a pretty blue in a high gloss finish, but any craft paint will work just fine.


Allow all of your pieces to dry.  I like to tear open these paper bags from Trader Joe's and place them under my craft projects since they are nice and thick and will protect my cutting mat from the paint. 


Slide your ribbons onto the dowel rod, place your knob on top and now you've got beautiful ribbon storage!


This project is so quick, easy and inexpensive and I'm in love with my three ribbon holders!  It feels so great to be organized.  I hope you enjoyed this tutorial and I'd love to know if you make any of these easy organizers.  

Have a great day!