Showing posts with label Adult Fashion. Show all posts

Thursday, November 15, 2012

DIY Cabochon Jewelry


As much as I love sewing, sometimes I get the urge to do something a little different. I've been planning some of my DIY Christmas gifts this year and I thought it would be really fun to make some pretty jewelry for friends and family.

Flower cabochons have always had sort of a vintage feel to me and I find them to be really beautiful. You can buy them from many different sources online (here are a ton sold on Etsy) and they are really reasonably priced. Basically they are just molded resin and are really lightweight and easy to work with when crafting. You can attach them to just about anything, but this year I decided to make rings, earrings and hair pins.

If you get these going in assembly line style, you will have plenty of jewelry in no time!

DIY Cabochon Jewelry
by Lindsay Wilkes from The Cottage Mama

Supplies:
Flower cabochons (found here)
Blank bobby pins, rings or earrings
E6000 or other industrial strength glue

Instructions:

Gather up all of your supplies for this project.


Like I said above, you can purchase some really gorgeous cabochons via Etsy.com. I ordered all different shapes and sizes so I would have a wide variety of different styles and colors.


As far as the blanks go for bobby pins, rings or earrings, I purchased the earrings and bobby pins online and found the rings at our local Joann super-store. You will have more of a selection if you order online, but you should be able to find all of these at your local craft store. Our lovely blog sponsor, Crafter's Vision carries some different blanks as well.

I bought adjustable rings because I'm not sure of everyone's ring size. Just make sure the blank portion of the ring is smaller than your cabochon (or at least the same size). The square rings (that came in this variety pack) didn't really work for this project since the blank was too big.
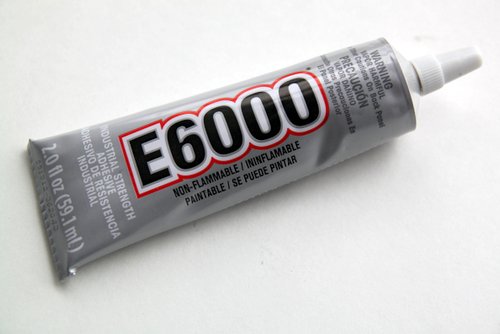

E6000 is a great glue to have in your stash of craft supplies. It's super strong and dries clear. You can find this at your local craft supply store. If for some reason you can't find this, then just look for another industrial strength glue. Jewelry gets a lot of wear and tear, so you don't want it falling apart.


So this project is really simple. Take a dab of glue and place it onto the blank jewelry, then press your cabochon on top. Leave them upside down to dry for at least 24 hours.


For the smaller pieces, like the earrings, I just put a dab of glue on some paper and dipped the top of the blank part of the earrings and pressed them to the cabochons.


These make great gifts for girlfriends, teenage girls and teachers.

Package these pretties up and you are good to go! 

Wednesday, July 25, 2012

Fat Quarter Tote for Riley Blake Designs ~ 'Seaside' Fat Quarter Bundle Giveaway


Today you can find me guest blogging over at Riley Blake Design's blog sharing my tutorial for the Fat Quarter Tote made from one of my favorite fabric lines, 'Seaside'.

To check out the Fat Quarter Tote Tutorial click HERE.

And guess what?

 I am giving away a FULL Fat Quarter Bundle of 'Seaside' from Riley Blake Designs to one of you!

The Bundle includes 25 Fat Quarters from the 'Seaside' collection.


To enter the giveaway, please leave a comment answering the following question:

If you win, what will you make with the fat quarter bundle?

For additional entries, leave a separate comment if you:
1) Are a Fan of The Cottage Mama Facebook or Twitter Page
2) Are a Fan of the Riley Blake Designs Facebook Page
3) Are a Follower of The Cottage Home Blog (email, RSS Feed or Google Friend Connect)

Giveaway is open until Friday, July 27, 2012 at midnight (CST).

Tuesday, March 13, 2012

Guest Blogging at Kojo Designs ~ Sewing for Me Series


Just wanted to let you know that I'm guest blogging over at Kojo Designs today sharing my Nursing Infinity Scarf tutorial.  This guest post is part of the 'Sewing for Me' series hosted by Kojo Designs and Sewing in No Mans Land

If you get a chance, I'd love for you to head on over and say hello!

Click HERE to visit Kojo Designs!

Thursday, August 4, 2011

Altered Couture Magazine Fall 2011


It happened again - The Cottage Mama was published in the Fall 2011 Issue of Altered Couture Magazine!  I'm so thrilled to be part of this wonderful publication for the second time and I have to admit, I don't think I will ever get tired of seeing my work in print.  This issue of the magazine is full of all sorts of tutorials and inspiration for altering your fall wardrobe. Oh, how I love fall!

In the fall issue I have three pieces that are featured........


The first two pieces are combined into one article and they are my Shawl Collar Sweater and T-Shirt Shrug.  Both of these are easy fall pieces that can be made for next to nothing and both in under an hour.


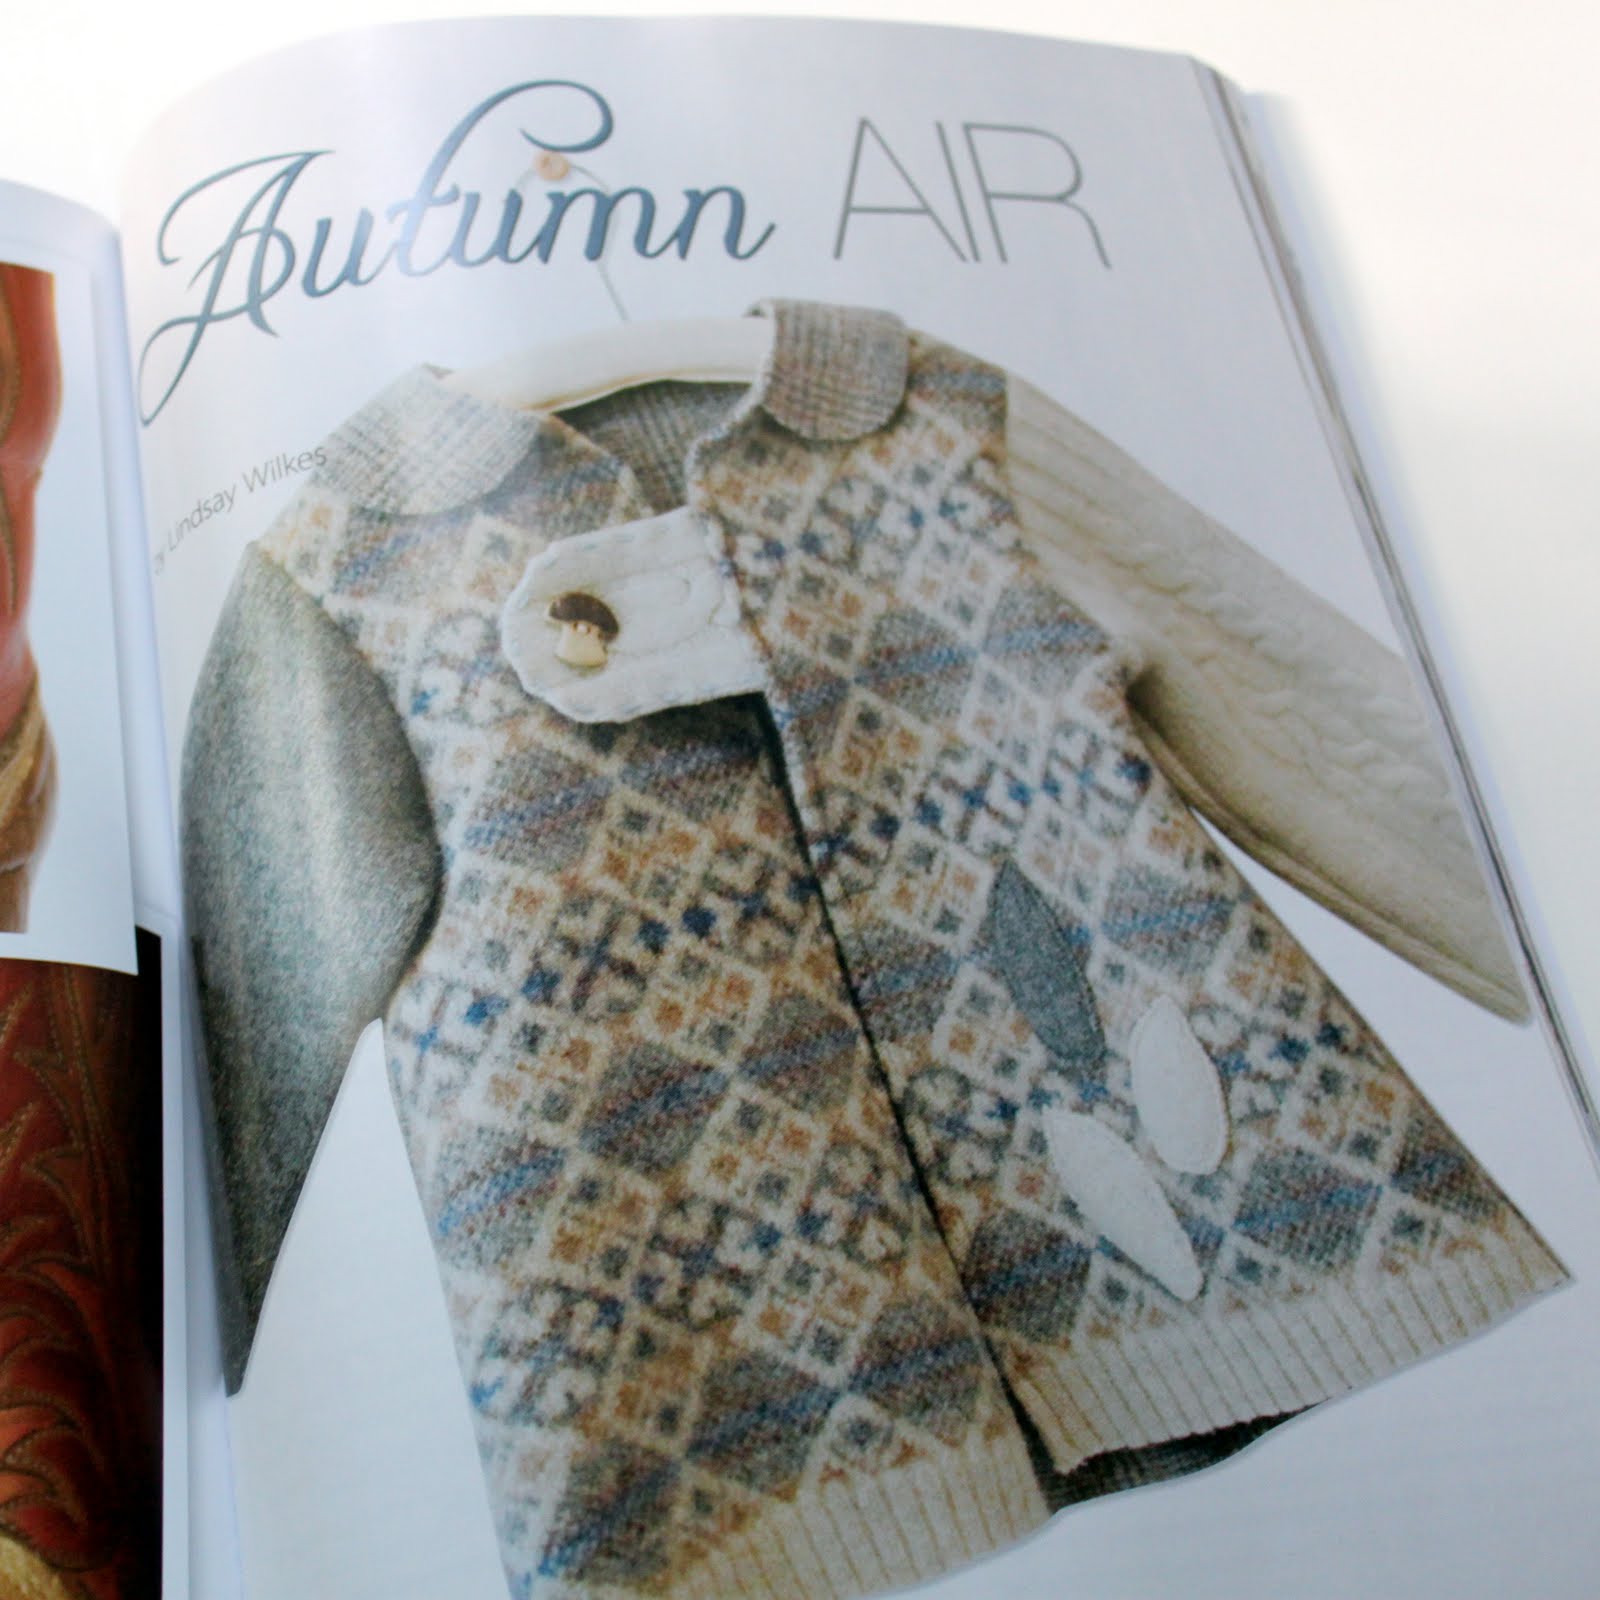
The third featured piece is a felted wool coat I made last year for my oldest daughter, Savannah Rose.  The coat is made from several different felted wool sweaters as well as some felted wool yardage.  My favorite things about this piece are the leaves and the little mushroom button.  The coat will be too small for Savannah this year, but should be just right for Miss Matilda.

The fall issue of Altered Couture is on newsstands now, so if you love upcycled, recycled and repurposed fashions, I highly recommend you pick up the latest copy.  This is a quarterly publication so it should be available for the next three months.  Again, I'm so happy to be part of the Altered Couture family and I'm looking forward to sharing my winter piece with you in the next issue.

To view step-by-step tutorials for some of these pieces, visit my TUTORIALS tab for more information.

Monday, May 23, 2011

Sew Serendipity by Kay Whitt - Signed Book Giveaway


I mentioned in last weeks "Quilt Market" post that I would be doing a book giveaway this week.  Well, here it is, just as promised - "Sew Serendipity" by Kay Whitt.
One of the first people my mom and I met at International Quilt Market was author and pattern designer, Kay Whitt.  We just happened upon her booth where she was sharing her gorgeous pattern designs, her wonderful book and was sporting the most adorable dress that you can see in the picture above (made from one of her own patterns).  And as I mentioned before, she was a true ray of sunshine.  So warm and friendly and more than happy to help an aspiring pattern designer with the ins and outs of the industry.

Later that day, Kay was doing a book signing for her book, "Sew Serendipity" and I received a signed copy of the book from her publicist.  Would I love to add this book to my stash? Well, absolutely!  But I have quite a few sewing books and I decided that the book would be better in the hands of one of you.  So that leads us to our giveaway.


Today I'm giving away a signed copy of Kay Whitt's "Sew Serendipity" sewing book.  Now even though I am giving this away, I had to take a peak inside to make sure you all would really like it.  And guess what?  It's a total winner!  This book is geared towards women's clothing and has many great skirt, tunic, dress, and coat patterns.  But it was the coat patterns that really won me over.


Oh, how I love this coat.  Love, love, love.  It's just so sweet and feminine without being over the top.  I'm always thinking of children's clothing, so I could totally see something like this on my little girls as well as myself.


I thought this one was really hip and fun with this modern fabric.  But it could also be toned down in a more subdued fabric.  This shape would be really figure flattering on lots of different body types.


And I just can't stop looking at this one!  So classic, yet modern - just my style.  If any of you win this book and would like to make this for me, I would gladly take it off your hands.  Just kidding, but isn't it adorable?


The book contains tons of illustrations throughout that makes it very easy to understand.  Kay does all the illustrations herself, which are just awesome.  I also love some of the other earlier chapters about getting a truly custom fit as well as her sewing tips and tools of the trade.

If you have ever been interested in sewing for yourself or another woman in your life, you are going to want this book.  So here's how to win...........

Three ways to enter.  You may enter up to three times total.  Please leave a comment for each entry.
1) Leave a comment.  You can say whatever you would like. (1 entry)
2) Follow The Cottage Home Blog. (1 entry)
3) Become a fan of The Cottage Mama on Facebook (click HERE to do so). (1 entry)

Giveaway will be open until Friday, May 27, 2011 at midnight (CST).

Monday, May 9, 2011

Lightweight Spring Infinity Scarf Tutorial


Have you seen the "infinity scarves" popping up in all the stores?  Basically is just a round tube of fabric that you can loop around several times to add an instant pop of color to any outfit.  I think these are great for the woman on the go because it stays in place really well.  Whenever I try to wear a regular scarf, it never ends up looking as nice as it did in the morning, but this one will look great all day long.  This project was very easy and only took about 20 minutes.  If you are a beginner sewer, this would be a great first project as it only involves straight lines.

I recently walked into my local Joann's and was instantly drawn vintage-inspired floral fabric.  Then I went up and touched it and.......(swoon).....did you know that Joann's carries cotton voile?  Who would of known (maybe you did, but I didn't)!  I was SO excited when I came across this super-soft voile.  If you've never felt voile before, it is so, so soft and is usually made from 100% cotton, although you may occasionally find a blend.  It is a bit more expensive than your regular quilting cotton, but I had a 50% off coupon, so mine was really reasonable.

You can use any light-weight fabric for the infinity scarf, but I love the drape of the voile.  You could also use a cotton knit, but that may get a little warm during the summer months.  Use whatever you like and whatever makes you feel fabulous!


Supplies:
Lightweight cotton fabric (2 yards.....though you will have lots leftover)
Scissors
Sewing machine
Thread
Hand sewing needle
Iron and ironing board

Directions:


Cut two pieces of fabric 12" X 60".  I cut mine at the same time with the fabric folded in half.  The 60" is why you need to purchase a lot of fabric, but you will have the whole other side to use for another project.


Now you have two long pieces of fabric.  Lay them on top of each other (right-sides together) and sew down both long sides, but leave about 3" on each end open.  Turn right-side out.  You will have one very long tube of fabric with four little sections on the ends that were left open (each of the corners).


In the next step, you are going to want to sew the short ends together.  Place two of the right-sides together and sew.  Then do the same with the other side.  You will have two tiny openings on both long sides once your short sides are sewn closed.


Hand-sew the two small openings closed with coordinating thread.  You can use any stitch you like.


Once you've closed all the openings, press your infinity scarf and your new accessory is complete!


Loop your scarf around twice and place it around your neck.  You could certainly wear it long as well, but I think it looks great double-looped.  I will probably wear mine with tanks and tees this summer.  It would also look cute with a little spring coat as well.


The infinity scarf can easily be made during a naptime.  Make one or make several to dress up those plain t-shirts this spring.  You can also make this with two coordinating fabrics - one for the inside and one for the outside.  Get creative and make it your own!