Showing posts with label Children. Show all posts

Wednesday, September 12, 2012

The Lolly Dolly Pillow Tutorial


**This was a guest post for Riley Blake Designs.  In case you missed it, I thought I would share it here with you on The Cottage Home.**

Hi, I'm Lindsay from The Cottage Mama and I'm thrilled to be back with you again today sharing my most recent design team project.  Deciding which fabric line to use for this tutorial was so darn difficult as I wanted to use just about all of the new lines that were coming out.  So I decided to post the lines I was considering on The Cottage Mama Facebook Fan Page and let the fans vote for their favorite.  It was a pretty close call, but we finally settled on 'Dress Up Days'.  I think this line is absolutely adorable in every way and I'm thrilled to be able to share this project with you today.......The Lolly Dolly Pillow.

'Dress Up Days' has this wonderful panel in three different colorways that is meant to be used to make a doll that you can dress up in several different outfits (so cute).  But I wanted to try to use this panel in a little bit different way and decided to turn it into a pillow.  I hope you like what I came up with today.

The Lolly Dolly Pillow
by The Cottage Mama for Riley Blake Designs

Supplies:
1 Panel from 'Dress Up Days' by Riley Blake Designs
Fat Quarter or 1/2 yard ~ 3 different prints 
Fat Quarter ~ Cream colored fabric
Double sided fusible interfacing
1-2 yards rickrack trim
Fiberfill or other stuffing
Basic sewing supplies

Instructions:
Cut your pieces.  

For the doll:
From the panel, you will need to cut out the front and back of the doll as well as the front and back of both arms and legs.  Also, cut out the head sash piece if you would like to use that.

For the ruffle:  
Cut 4 strips 3" x Width of the fabric.

For the pillow:
Cream Fabric: Cut 1 piece 12" x  8"
Purple Fabric: Cut 2 pieces 8" x  5"
Chevron Front: Cut 2 pieces 20" x 6"
Chevron Back: Cut 1 piece 20 x 18"


To make the ruffle around the edge of the pillow.  Cut 4 strips of fabric measuring 3" x width of the fabric.  Sew each of the strips of fabric together at the short ends to make one long round of fabric.


Press the strip in half with the wrong sides facing each other, lining up the raw edges.  Run a gathering stitch around the entire ruffle piece and gather to fit the back of the pillow.

If you are not familiar with a gathering stitch, you need to set your stitch length to the longest setting (mine is 5.0) and increase the tension on your machine.  Run a stitch about 1/4" from the edge all the way around the fabric and then pull one of the threads to gather.  Make sure you do not back stitch at the beginning or end otherwise your fabric will not gather.  Another note......make sure you are using polyester thread for this project as cotton thread will break when pulled for gathering.


To construct the pillow front.  Place one piece of the purple fabric with the right sides together against the cream fabric, lining up the raw edges.  Sew using a 1/2" seam allowance.  Sew one piece to the top of the cream and the other to the bottom.


Press open the seams at the top and at the bottom.


For the sides of the pillow front.  Place a piece of the chevron fabric with the right sides together against the center panel (purple and cream).  Line up the raw edges and sew using a 1/2" seam allowance.  Do this for both sides.


You will end up with a piece of chevron fabric on each side of the center panel.  Press your seams open.


If you would like to add some trim, this would be a good time to do so.  I added some orange rickrack trim over the seam between the chevron fabric and the purple and cream.  You could use ribbon or buttons or whatever embellishment suits your fancy.


Now for the doll, place all the 'limb' pieces with their right sides together and sew around the edges using a 1/4" seam allowance.  Do this for both arms and both legs, leaving the short edge open for turning right side out.  For the body, place the right sides together and stitch all the way around, but leave a small 2" opening for turning.  Clip around any curves to remove bulk and to make sure the curves are smooth.  Turn all pieces right side out and press.


Use fiberfill or any stuffing material you like and stuff each one of the limbs.  Try to get them pretty full.  This will take a lot more stuffing than you would imagine!  Do not stuff the body piece.


Sew the raw edge of the limbs closed so none of the fiberfill will escape.
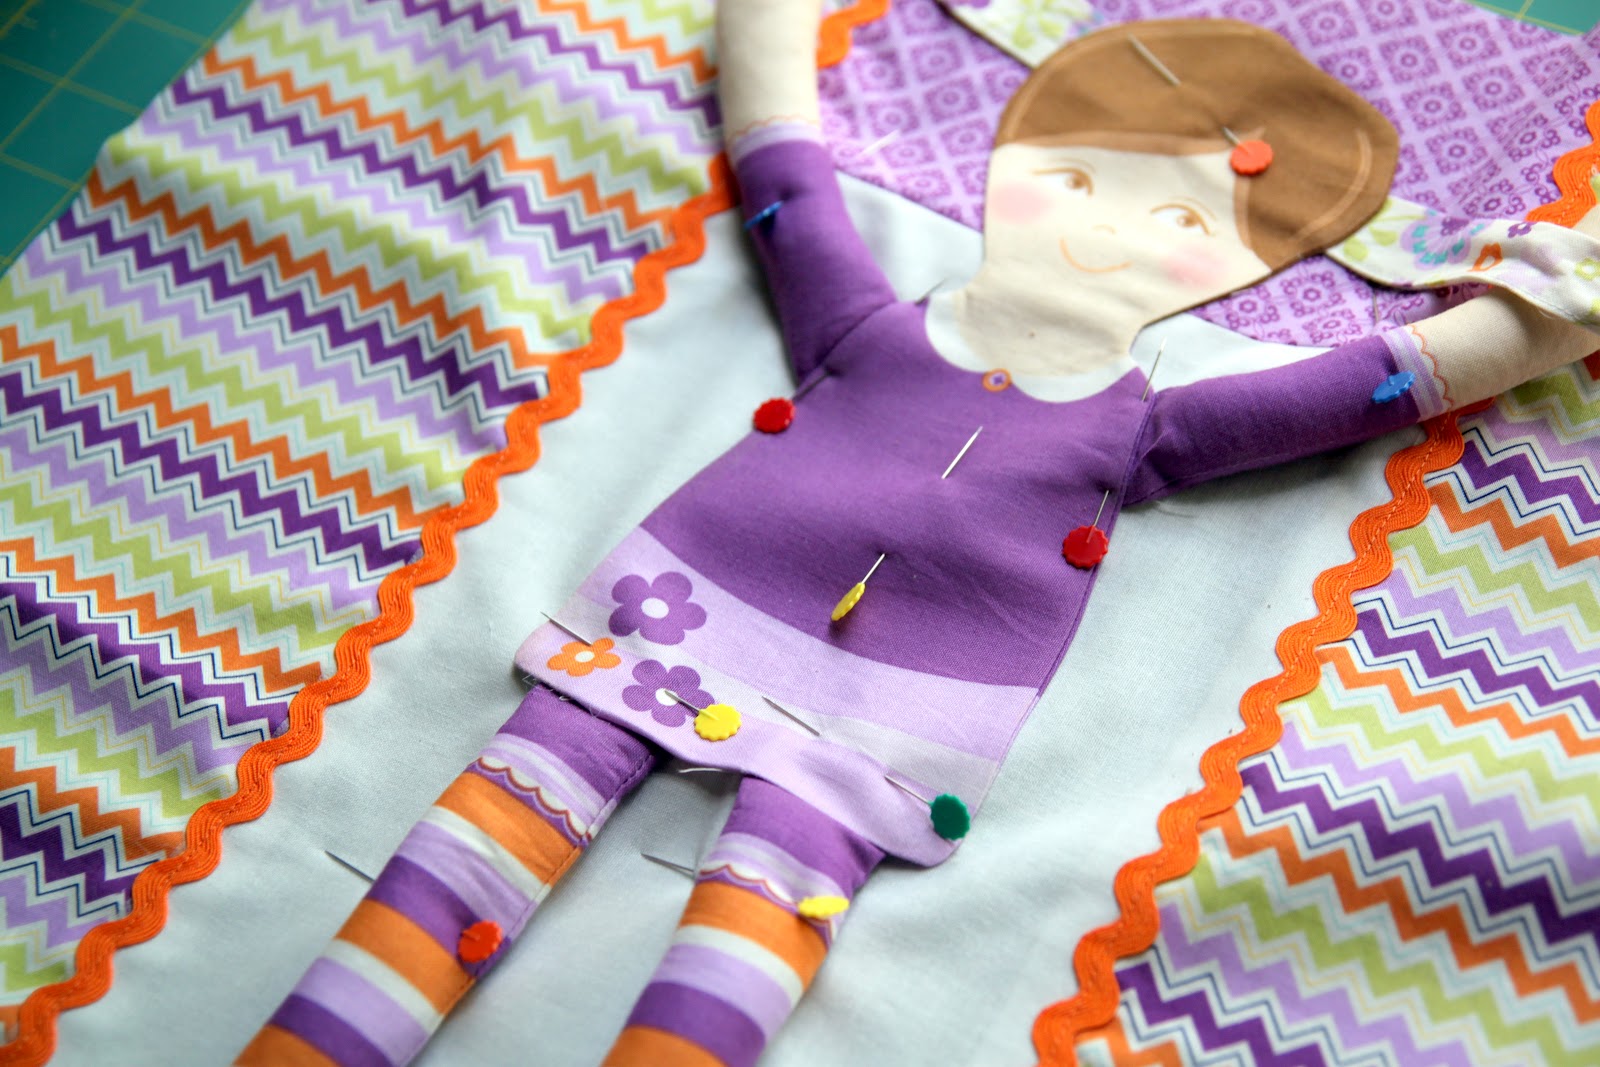

Cut a piece of double-sided fusible interfacing the exact size of the doll body and apply it (according to package directions) to the back of the doll.  If you are going to use the head sash piece, fold it in half with the right sides together and stitch down both short sides and the long side, but leave a little opening in the middle of the long end for turning.  Turn right side out and press.  Edge stitch the head sash piece to close the opening

Position the doll on the front of the pillow.  Her smile should be right about where the purple and the cream fabric come together.  Place the raw edges of the limbs under the body and place the head sash under her head.  Make sure you like the angle of the head sash and the way that it ties before this next step.

Using your iron, press the doll body to the pillow front as this will fuse it to the pillow.  This might feel a little trick, but do the best that you can trying to work around the limbs.  Pin the limbs and body to make sure nothing moves for the next step.


Sew using an 1/8" - 1/4" edge stitch all the way around the body.  Leave the head sash open until you've sewn around the body.  Make sure to catch all the raw edges of the limbs under the body.  Then place a few hand stitches in the very tops of the hands to hold them in place.


Pin your ruffle around the edge of the pillow front or back (either is fine), lining up the raw edges.  Baste stitch to hold the ruffle in place using a 1/4" seam allowance.


Place the pillow front on top of the pillow back with the right sides together.  Sew all the way around the pillow using a 1/2" seam allowance, making sure to leave a 4" - 5" opening for turning the pillow right side out.  Clip corners, turn right side out and press.


Stuff your pillow with fiberfill or other stuffing material making sure to work the stuffing into all the corners.  Close the bottom of the pillow by hand sewing it shut.


Isn't she just so sweet?


This is such a fun and different addition to a little girls bed.  This pillow is pretty generously sized, but you could make it even bigger if you want to.


Thanks so much for letting me share The Lolly Dolly pillow with you today.  I hope you will try to make one for a special little lady in your life.  

And don't forget to check out 'Dress Up Days'......it is just too cute!

Wednesday, May 16, 2012

The Lolly Dolly Pillow Tutorial and Riley Blake Designs Fat Quarter Bundle Giveaway


As I've mentioned before, I am part of the Riley Blake Designs Project Design Team and today I am guest blogging over there sharing a free tutorial for 'The Lolly Dolly Pillow' that I created from their new 'Dress Up Days' line.

Click HERE to visit Riley Blake Designs official blog and view the full tutorial.


I am absolutely in love with this fabric line and I am so happy to be giving away an ENTIRE Fat Quarter Bundle of 'Dress Up Days' by Riley Blake Designs.  The full bundle includes 24 different cuts of fabric from the 'Dress Up Days' line and can be used for anything from quilting, clothing to home decor.

GIVEAWAY: 'Dress Up Days' by Riley Blake Designs
Fat Quarter Bundle (24 Fat Quarters)

To enter the 'Dress Up Days' by Riley Blake Designs Fat Quarter Bundle giveaway do one, some or all of the following (you can have up to three entries):

1)  Visit Riley Blake Designs and tell us what line of fabric is on the top of your wishlist right now.  Click HERE to visit Riley Blake Designs.

2)  Follow / Subscribe to The Cottage Home Blog (if you already follow then thank you very much.....just let me know you already follow).  You can follow in the left side bar of the blog or add this blog to your Google Reader.

3)  Become a fan of The Cottage Mama Facebook Fan Page (if you already are, another BIG thank you......just let me know you are already a fan).  Click HERE to become a fan.

Giveaway will be open through Sunday, May 20, 2012 at midnight (CST). 


  Again, to view the full tutorial for The Lolly Dolly Pillow, please click HERE to visit the Riley Blake Designs official blog.

Monday, April 16, 2012

Muffin Tin Monday - Creating Non-Picky Eaters


So as of recently 'Muffin Tin Monday' is what we've been doing for lunch around here each Monday afternoon.  Have you heard of this?  Well, just Google 'Muffin Tin Monday' and you will find a million and one pictures of this idea. 

Basically you just use a muffin tin, load it up with a variety of different foods and serve the muffin tin as your child's plate for lunch (or dinner).  Pretty easy, right?

Here's what was in our muffin tin this past week:


Starting from the top left, moving to the right:

1. Woven Wheat Crackers
2. Peas
3. Sliced Banana
4. Tortilla Chips
5. Carrots
6. Shredded Cheese
7. Ham
8. Cherrios
9. Marshmallows
10. Turkey
11. Raisins
12. Clementines

This might look like a lot of food, but would you believe my four year old ate almost every single thing out of her muffin tin?  Yep, my girls have serious appetites......kind of like their mama.  You could certainly do this with a 6-cup muffin tin or use a mini-muffin tin as well.


The girls thought it was so fun to try all of these different foods, though most of them are ones they have had before.  Luckily my kids have pretty diverse tastes, but Matilda can be a little picky at times.  This offers kids a fun way to try some new things without the added pressure of it being a large portion of their meal.  Not to mention the fact that it's a good way for parents to incorporate lots of different food groups in their kids diets.  And really, who wouldn't want to eat their lunch out of a muffin tin?

For the most part I post pretty pictures of my children here on the blog, but my girls are so darn silly when I pull out the camera, so I thought I would share some 'out-takes' during this last Muffin Tin Monday.  Here are the girls (and no, I did not tell them to make any of these faces):


 'Savannah, I can't believe it's Muffin Tin Monday!'

 Matilda's Pirate Face


 'Oh my, I LOVE Muffin Tin Monday'

Probably my favorite with Savannah's silly face poking into the picture.

Do you do Muffin Tin Monday around your house? 
 If so, what are some little finger foods your kiddos love to eat?

And if you haven't tried Muffin Tin Monday, give it a whirl.......I bet your kids will love it!

Happy Monday!

Thursday, March 8, 2012

Orange Themed 4th Birthday Party

Click here to view the winners of the March 2012 Giveaway Day.


Savannah's 4th birthday party was this past weekend and several months back she decided that she wanted an 'orange' themed party since her absolute favorite color is orange.  When she first mentioned this theme, I was a little skeptical.  I was thinking she would go for a princess or character themed party, but as we began planning the orange party, we all got really excited about the color-themed birthday celebration.

Every year, I think that I'm going to keep it small, but one thing leads to another and I end up with 50+ people planning on attending our kids parties.  But I'm just going to go with it for now because in a few years we won't be hosting all of the adults or really even choosing the guests, so for right now we are going to enjoy these early years.

Savannah wanted an orange birthday party dress, so I went through my fabric stash and found some orange fabrics that I thought really worked well together.  I also had purchased this orange woven citrus trim awhile back.  When it arrived about six months ago, I thought, 'why in the world did I order this?', but I guess it was just meant to be.

Here is the dress I created for Savannah's Orange Party:


The orange party dress had so many pieces.  It was definitely not a 'quick sew' type of dress, but I love the end result.  Savannah could not stop twirling all day long at her party.  It was the perfect dress for her 4th birthday.  I used McCall's Pattern 6497 as the base for my dress design, but modified, added and altered a few things.  I bought it for 99 cents at Joann's when they had their McCall's pattern sale, so it was a great deal.

I like to construct dresses a certain way, so I used the pattern more for sizing and didn't really follow their instructions.  I also wanted to use the orange citrus trim, so I added that along the bottom of the dress.  This dress also took a TON of fabric, I want to say it was around 4-5 yards when all was said and done.


The bodice is fully lined and buttons in the back with four orange buttons.  I added piping into the cross-over bodice because I just love the way piping finishes a garment.  I thought about doing green piping, but I wanted to stick to orange since that was the party theme.


I added a wider/longer sash than the pattern called for and it has a large bow that ties in the back.  I also made a rolled-rose flower embellishment that I added to the sash and is accented with several corker ribbons that I made as well.

We asked all of our guests to wear orange attire, so I also made Caspian and Matilda little outfits to coordinate with the party.


I just made Caspian an easy tie appliqued onesie.


Here is Matilda with my mom (Grandma Jane) in the skirt and shirt that I made from scraps of fabric from the orange birthday dress.  I didn't want to go too crazy with her outfit because I wanted to make sure she didn't up-stage the birthday girl.

So now onto the party details...........


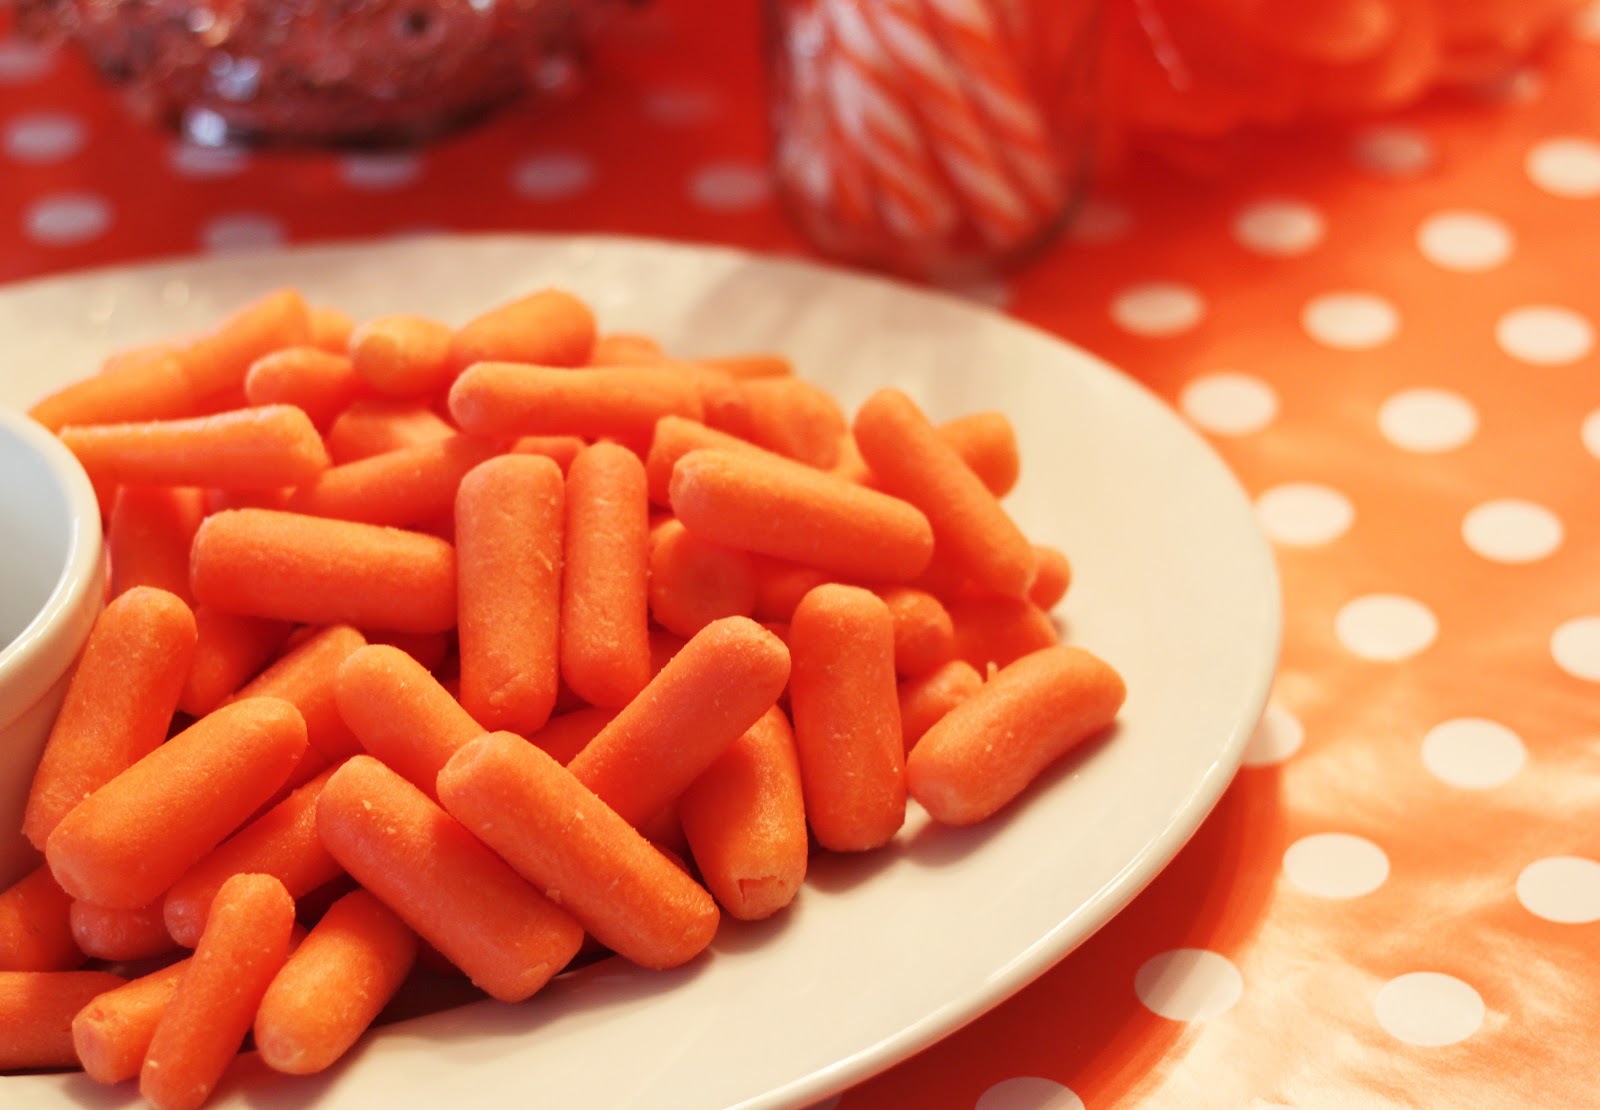
We tried to do as much orange food and candy as possible.  We had orange goldfish crackers, sweet potato chips, carrots with southwestern dip, macaroni and cheese and more candy than you can even imagine!  


I brought out a lot of crystal serving pieces that were given to me by my Grandma Ethel.  I thought this would be the best way to have the full orange impact.  And it sure was........there was no doubt what the color-theme was when you walked into our dining room.


We used little clementines as a centerpiece in a large hurricane glass, but they were also a great snack for the little ones to eat.  I just love the way fruit looks on a table.  So simple, yet so beautiful.


Did you know that you could find this much orange candy?  I ordered all of the candy from an online store called 'Oh Nuts'.  I found them just doing a Google search and the website is really great because you can search by color and find all the candy you need.  I ordered jelly orange slices, orange M & M's, jelly beans, rock candy, peach licorice, orange and cream salt water taffy and orange candy sticks.  I found orange pixie sticks and orange tootsie pops at our local party store. We let each of the kids at the party fill a bag full of the different candy as their party favor.  

For the adults, I had the idea of doing some Orange Chinese Chicken, but I really didn't like the idea of having to be cooking while all of our guests were there, so I decided to make our life easier and order Chinese catering.  Sometimes I have to realize that it's ok if I don't make and do everything myself.  The Chinese was a huge hit!!


We ordered orange chicken, a beef dish, fried rice and lo mein noodles.  Since we were feeding about 50 people, I'm really glad we decided to go this route.  Not to mention the fact that Chinese food leftovers are delicious.


We made four boxes of Kraft Macaroni and Cheese for the kids and just put it in the crock-pot on the 'keep warm' setting.  The girls LOVE Mac & Cheese from the box so I didn't dare try to mess with it and make a version from scratch.

For drinks we served juice boxes for the kids, soda, as well as mimosas (champagne and orange juice) and home-brewed beer for the adults.


I know I've mentioned it before, but my husband, Brett, is an avid home brewer and has brewed a special brew or two for each of the girls parties.  Of course, this will be coming to an end once we start to have kid-only parties, but for now he has a lot of fun with it.  Both of these beers were 'orange' inspired in flavor and slightly in color as well.  If you recall in my birthday post regarding Savannah turning four, her knock knock joke punchline is always 'Pancakes on your head', so that's where that title came from.  The other beer was called 'Savannah Slam'.

And for the decorations..........


I used an orange tablecloth and layered some orange and white polka dot wrapping paper on top.  I did one piece down the center of the table like a runner and a couple more pieces across the top of the runner in the opposite direction. I also made large tissue paper flowers that I nested in between the different serving pieces.


I used some orange fabric to make a whimsical garland. Some of the fabrics were from Savannah's birthday dress and others were different variations of orange that I already had around.  I didn't buy any new fabric for this party - yay!


I tied this pretty pink and orange flower ball from the center of our dining room chandelier.  It was pretty and brought the whole color scheme of the party together.


I ordered some orange and white straws from 'Cupcake Social' on Etsy as well as this orange twine and the little cups for the goldfish crackers.  All of our drinking classes are 'ball' jars so I just pulled some of those out of the cabinet to use as containers for candy and some other items.  I tied a simple bow with twine around the top of each jar.


I did not make the cake.  I'm not really a baker.  I love, love, love to cook, but baking......eh, I could take it or leave it.  We ordered this cake from Costco.  Their cakes are super-tasty, really affordable and feed 48+ people.  I just had them put orange roses on it to go with the party theme.  We also served orange sherbet with the cake (which turned out to be Savannah's favorite part).


I didn't get a ton of great pictures of Miss S. since she was very busy during her party.  She was so excited to have all of her friends there to celebrate, but I did manage to get this one before the party started.


The Cottage Papa and our little man, Caspian Finn.  I wouldn't be able to plan such fun parties for our kids if it weren't for that man.  Thanks, honey, for all you do!

The orange party was a great success and most importantly, Savannah had the best time ever!  Miss Matilda's favorite color is blue and she seems to think she is having a blue-themed party come July.  I'm thinking that one might be a little more difficult.

If you are looking for the 'orange' party invitation, you can view the post and free printable by clicking HERE.

I still can't believe my baby girl is 4 years old!