
Shortly after Country Living was here for the photo shoot, I told Mike that I'd like to dismantle our antique four poster bed and put the mattress on the floor. Never did he think I would utter such words, but I explained to him that it was a precaution because I was worried about the babies tumbling off the bed now that they were becoming much more mobile.

With the stark room that was left after removing the bed frame, the side tables and the bedside lamps, it wasn't long before I started to think of ways to spruce the space up a bit. At first I asked Mike to 'whip up' a headboard that we could upholster, but that involved more spare time than we had.
Then I remembered reading a post on Little Green Notebook about pelmet boxes that Jenny had made to go over her girls' bedroom windows. They were so beautiful and added such lovely detail to the room. Plus, it only took her two hours, and the materials were so simple...foam core, fabric, duct tape!
So I basically used her tutorial, except I made one large pelmet box on the wall at the head of the bed.

The upholstered foam core was attached to a large metal curtain bracket mounted on the wall. The linen drapes hang behind the pelmet box, suspended from a piece of surplus wood trim also mounted to the wall. Behind the linen drapes, we also tacked up quilted padding as another baby precaution.
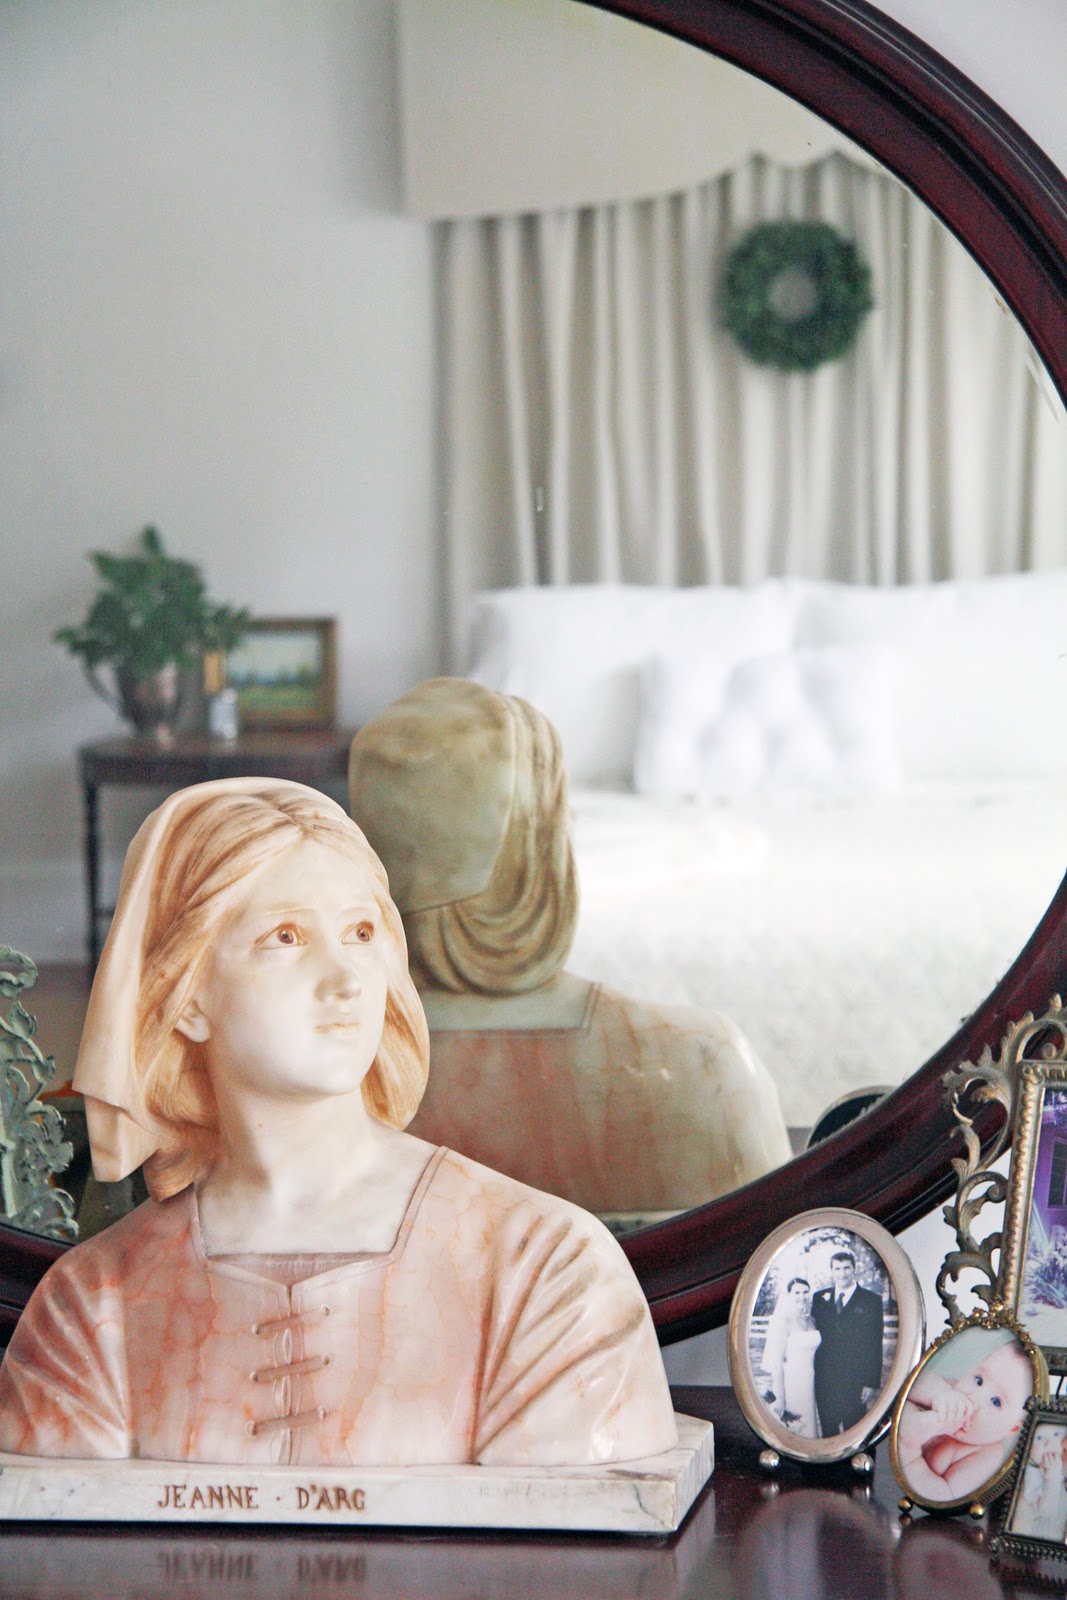
In the spirit of the season, we hung the boxwood wreath in place of the heavier artwork that hung in the space previously.
I really enjoy the effect that this small change had on the room, as it adds a few crisp lines around the casual mattress placement, yet with a supple texture.

I love that it's baby friendly, and that it was an
affordable solution to dressing up our placement of the mattress on the floor.

This man helped me a lot! We often laugh about the Country Living article which stated, "Mike can build or fix anything." He thought that was ridiculous but I think it's really very true! For this project, he did all the math and measurements necessary to make the pattern for the cutout. Then, after we "upholstered" the foam core (with duct tape of course), he made sure the installation was centered, straight and level on the wall.

He was also in charge of the exacto knife (with a steady hand) to cut the pattern from the foam core.
It was a team effort which we were able to work on in spurts (often when my mom was visiting) over the course of TWO MONTHS! I often muttered, "I can't believe Jenny did all this in two hours...she's amazing...I can't even sketch out a pattern...how do you upholster this?...I can't cut a straight line..."
But I assure you - it could be accomplished in several hours if you have the spare time.
Our materials list:
Thick foam core
Duct tape (white of course!)
Metal curtain bracket
Linen fabric (50% off from Joann's)
Wood trim (or you could use a smaller metal curtain bracket)
Quilting to pad wall (optional)
I washed the linen, sewed six foot-long drapes, and then pressed them before hanging.
No comments:
Post a Comment