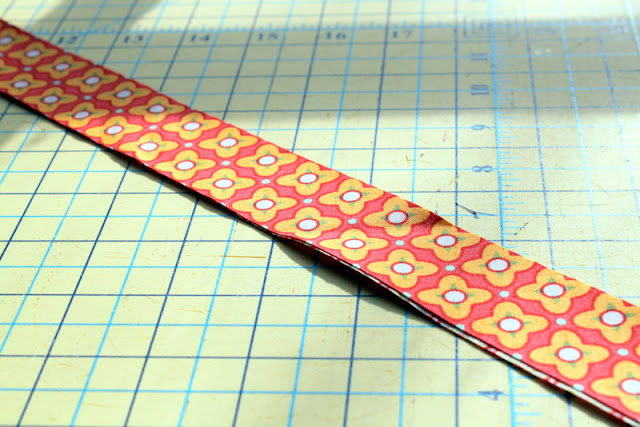
I think piping is one of the sweetest, most professional details you can add to children's clothing. It makes a some-what ordinary piece of clothing into something extraordinary. There are many different colors and sizes of piping that you can purchase pre-made in the notions section of your local sewing store, but did you know that you can make your own?
Making your own piping is really fun, very easy, and super affordable. I love tying a garment together with piping in a coordinated, printed fabric. Last week in my vintage/retro "Project Run and Play" outfit, I added custom piping into the peter-pan collar and I thought I would share the how-to with you today.
Make Your Own Custom Piping
Supplies:
Bias cut fabric strips (1"-1.5" wide)
Cotton cording
Sewing machine
Directions:
First, you will need bias-cut strips of fabric. To cut your fabric on the bias, you will need to cut it at a 45 degree angle against the grain. Do this exactly the same way you would if you were making bias-tape. I cut my fabric 1.5" wide and then cut it down after I make my piping based on the seam allowance I'm using for my design. You could certainly cut it more narrow - say 3/4" - 1" if you know your seam allowance is smaller - I just like have more fabric to work with.
Also, you don't need much fabric unless you are planning to make a lot of piping. If you are making a large amount of piping, sew each bias strip of fabric together as you would when making bias tape.
Next you will need cotton cording. The size of the cording is going to be up to you - it depends on how large you want your piping. If you are inserting the piping into a children's garment, I recommend a very small cord; however, if you are making piping for the edge of a pillow, you are going to want something much larger. This cording can be found in the notions section or the upholstery section of your sewing store.
I've also heard that you can use a worsted-weight cotton yard as cording, but I have yet to give that one a try.
Lay your cotton cording in the center of your bias strip. Fold the bias strip in half over the cording so that both raw edges are lined up together.
Next, you need to baste your fabric around the cording. I use a straight stitch set at 3.5 for basting. You want to run your stitching as close to the cording as possible without actually stitching into the cording.
If you are making lots of piping to save for future projects, I would recommend going with a wider cut bias strip and then cutting down the raw edge based on the seam allowance for each individual project.
Once you have your beautiful custom piping, you can follow my "Piping Tutorial" to insert it into a garment.
Click HERE to learn how to insert piping.


No comments:
Post a Comment