Welcome to those of you visiting from over in the "Mommyhood"! I'm so excited that Shannon asked me to be part of this month long battle she is having going on over on her blog, Luvinthemommyhood - Comfy Sews vs. Cozy Knits. Guess which side of the ring I'm on?
For those of you that know me, you know I am all about the sewing over on my blog, The Cottage Home. On a rare occassion I pick up my crochet hook and maybe someday I'll learn how to knit, but for now, the sewing needle is my tool of choice.
As of lately I've been slightly obsessed with felted wool. I thought this would be a great project to bring some of those on the "Cozy Knits" side of the ring over to the dark-side, "Comfy Sews". Surprisingly this project has minimal sewing and does not even require a sewing machine (though there is some hand-sewing involved). So if you have ever thought about trying a sewing project, trust me, this will be right up a beginners alley!
I don't know if you'll believe me, but this is just one large oval of fabric! You can use regular fleece fabric, recycled felted wool sweaters or, if you knit, you could simply knit your own fabric oval and felt it. If you have never felted wool before, click here to view my latest tutorial.
Let's get started..........
Shawl Collar Sweater Tutorial
Supplies:
1 yard of fabric (either felted wool or regular fleece - any non-fraying fabric)
1 large button or large shank button (to be covered with fabric)
Scissors
Hand-sewing needle
Thread
Optional:
Scrap of fabric (if covering button)
Fabric covered button kit
Embroidery floss and embroidery needle (if monogramming button)
Water-soluble fabric marker
Directions:
The diagram below should help clarify what I am talking about in each step. I'm a very visual learner and because this was such a large piece of fabric, I thought this would be easier to understand than my pictures.
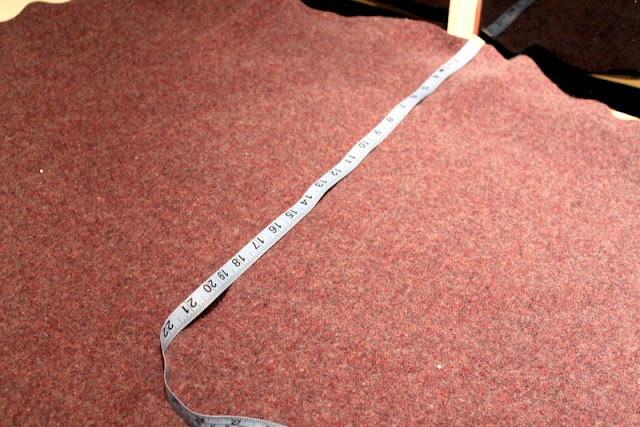
Below you can see that the width of my oval fabric piece was 42" and the length was 35". I would say I wear a small/medium these days and have a somewhat larger chest. If you are smaller or larger then you may want to adjust the measurements a little bit.
Fold the yard of fabric in half length-wise, then width-wise. I am using a large piece of felted wool here (that I purchased from my thrift store and felted at home), but you can use any fabric you like that won't fray. We are leaving the edges raw and the arm holes raw, so you don't want a fabric that will fray. Fleece would be a nice choice or you could even try to use some kind of knit.
Cut a quarter circle. Divide your length measurement in half and your width measurement in half and connect the dots with your curve. This will give you an even oval.
Unfold your oval piece of fabric. As you can see, it is a rather large oval, that's why I included the first diagram.
Measure half your width and half your length to find your center point.
Measure the widest part of your back (up by the shoulder blades). Cut your arm holes 9"-10" long in the center of the oval - they should be cut your back measurement apart. My back was 17", therefore each arm hole was cut 12.5" in from the edge of the oval (see first illustration).
After you have cut your arm holes. Fold over the top of the oval 9"-10". The 9"-10" is for the largest part of the curve.
Try on your shawl sweater to determine button placement. My button placement was about 3" from the edge. You can sort of see the white head of the pin in the picture above.
This next step is completely optional. I wanted to make a special monogrammed button, but you could definitely use any button you have on hand. If you aren't monogramming your button, you can skip the next several steps. I also used some wool suiting fabric for my covered button.
Trace your covered button template onto the fabric.
Trace your button inside the template with a water-soluble fabric marker.
Hand embroider your initial onto the fabric. I did an "L" for Lindsay.
Follow the instructions for your covered button kit and cover your button. Make sure to center the letter in the middle of the button. Stitch into place. Cut two small slits on the other side of your shawl collar to use as the button hole. Again, you don't have to do a "real" button hole because the felted wool will not fray. I also tacked the other-side in place with about four hand stitches. Now, try on your new sweater!
And there you have it - a comfy Shawl Collar Sweater - perfect for those cool autumn days!
Cottage Mama's Note: This piece of wool only cost me $1.00, plus the button = $1.25 for some hip fall fashion!


No comments:
Post a Comment